Announcements
Welcome to Servikus Tutorials Area! You will find a ton of useful tutorials in our tutorial area. We hope that you will find them useful! If you want custom tutorial created, please let us know and we will create it for you!
-
Advanced tutorials
Tutorials aimed for advanced users and, mostly, Dedicated Servers owners.
-
Basic tutorials
-
cPanel
cPanel related tutorials
-
Domain tutorials
-
WordPress
WordPress related (installation, plugins, tips etc)
How to install WordPress script manually
Posted on 06/07/2014 by Bojan Njamcić
Step 1: Downloading latest WordPress installation package from official WordPress download page.
In your browser bar enter following URL: http://wordpress.org/latest.zip .This is a link for direct download of latest version of WordPress script available on WordPress official web-site.
-login into your cPanel account.
Step 2: Uploading installation files to your server.
There are multiple ways of doing this. For example you can upload files using FTP, or you can upload files from cPanel/file manager. In our case we will upload files from cPanel/file manager.
-Login into your cPanel account. Open “File Manager”.

In a “Directory Selection” box you will need to choose “Web Root” option and click “Go”.
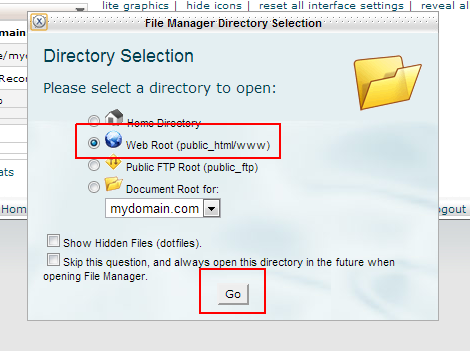
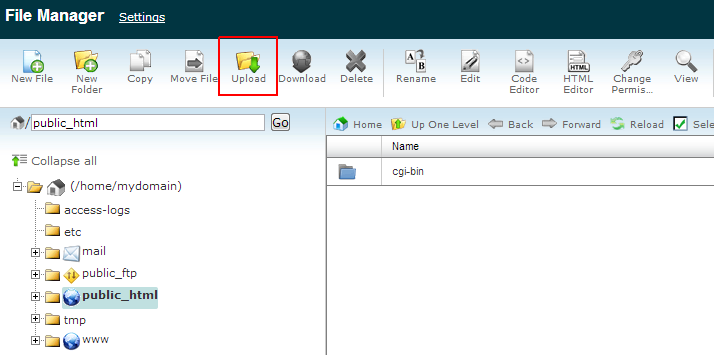
You will be redirected to “File Manager” page.
-Here you need to click on “Upload” icon. It will open a new page.
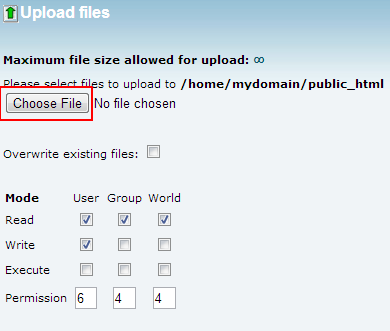
-Here you need to click on “Choose file” option. After you selected file, upload will automatically start.
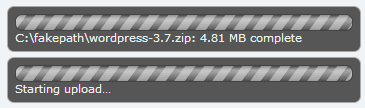
-When upload is finished go back to “File Manager” page, and you will find that file has been uploaded in a directory that you are in.
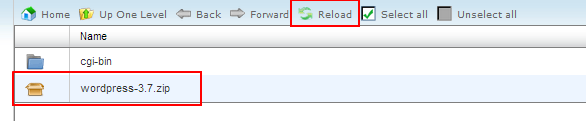
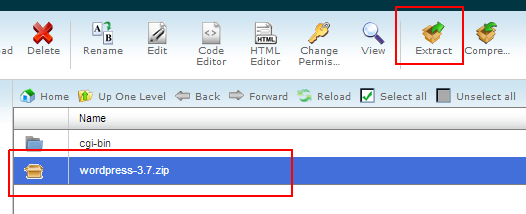
-Now you need to select uploaded file (wordpress-3.7.zip) and click on “Extract” icon
-A pop-up box will appear. Here you need to specify path you wish selected file to extract to. By default full path will be exact directory that you are in. You need to extract files in “public_html”. When you entered desired path click on “Extract File(s).

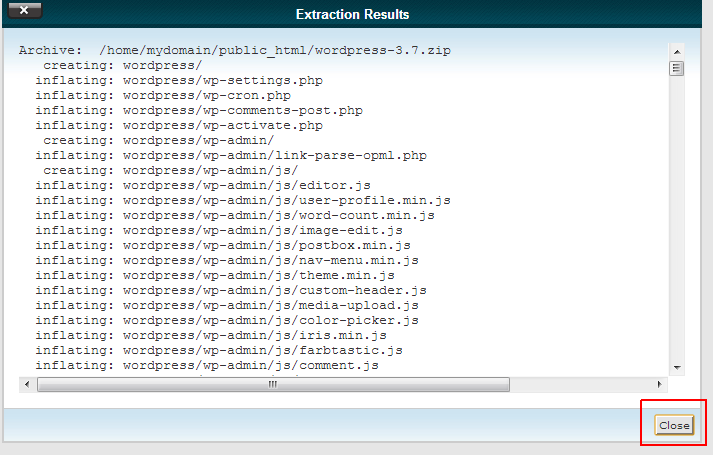
It will create new directory in your “public_html” directory, named in our case: “wordpress”.
This directory will contain extracted wordpress installation files.
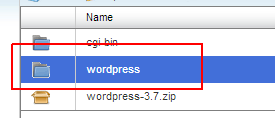
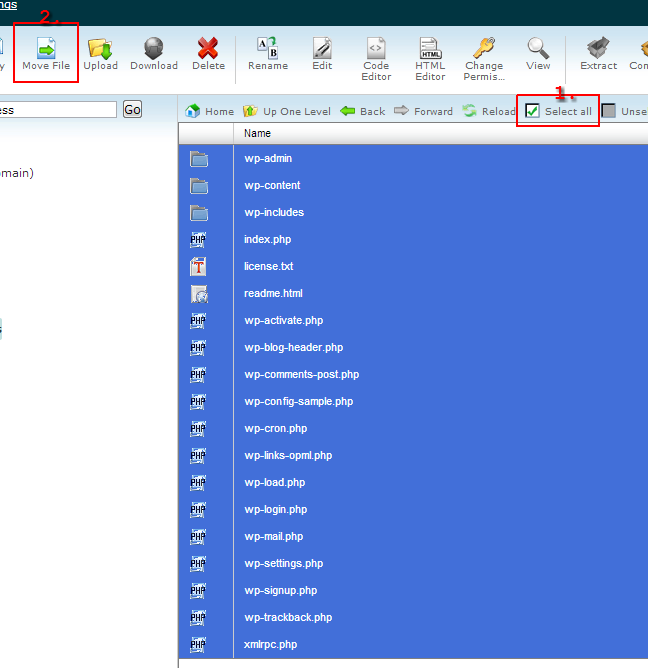
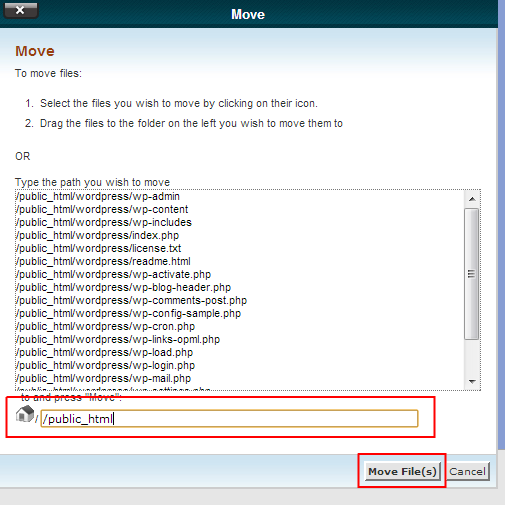
Next step is to open “wordpress” directory, select all files, and then click on “move” icon. There you will be prompted to enter path to move files to. All of these files must be moved to “public_html” directory.
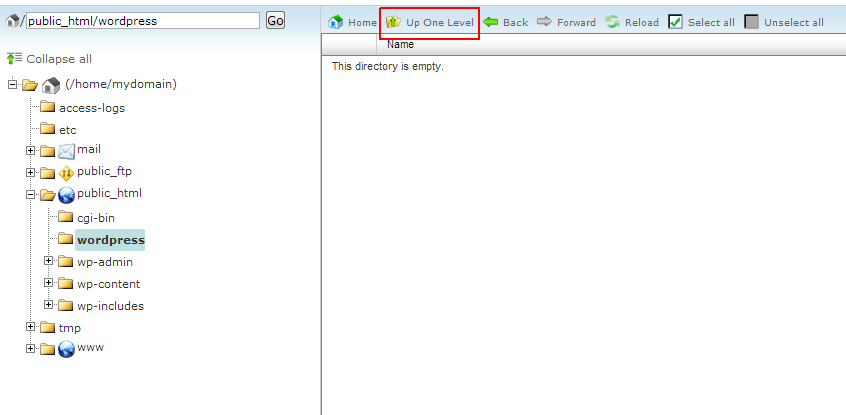
Now that we have moved files from “wordpress” into “public_html” directory, we need to click on “up one level” icon. After that we will be inside “public_html” directory.
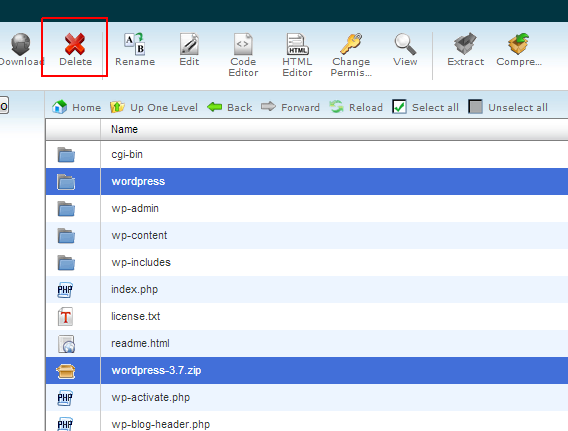
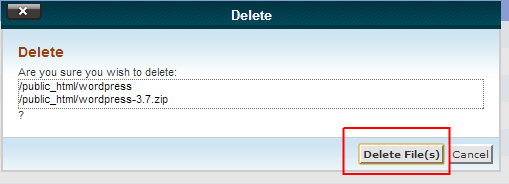
Now you should delete “wordpress-3.7.zip” and “wordpress” directory, because we don’t need these files anymore. You can select both by simply holding left control button on your keyboard and clicking on them one by one.
After this you need to go to first page of your cPanel account.
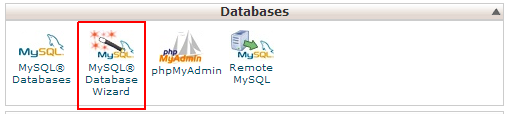
Step 3: Creating MySQL database and database user for WordPress script to use. We need to create user with full privileges.
-In your cPanel account, under “Databases” box, you need to click on “MySQL® Database Wizard”. Easy way to find it is to type “mysql” in “find” field.
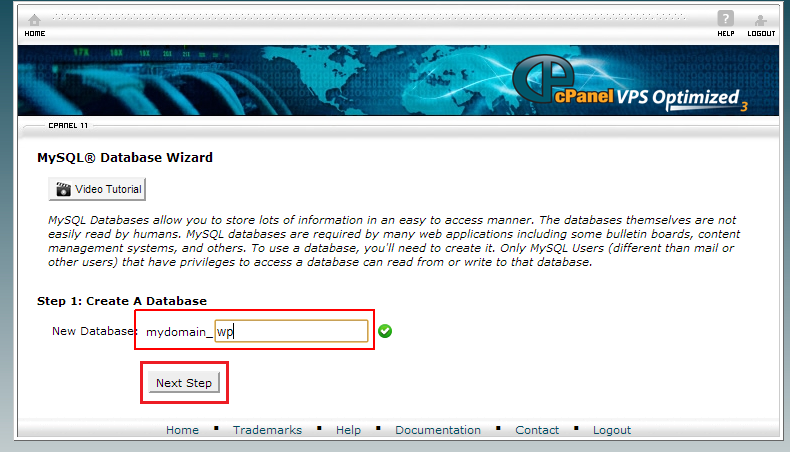
-Next step is to create database. You will be prompted to enter name of database to be used for this installation.
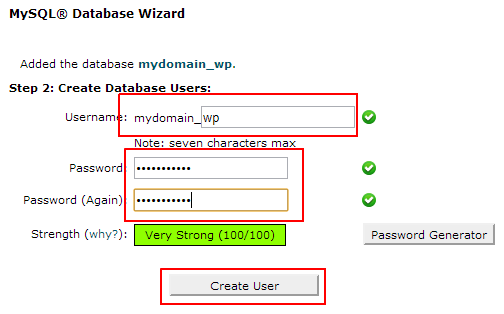
-Then you will need to create database user. And you need to enter desired name for database user.
-Next step in creating database user is setting up password for database user. We strongly recommend you to copy your password somewhere safe.
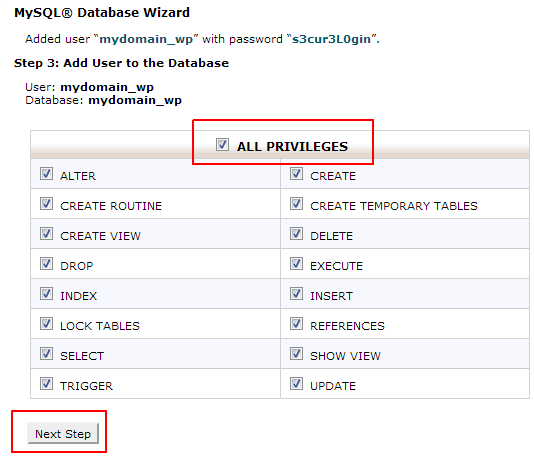
New page will appear, in this step you need to grant all privileges to user. You can do this simply by selecting “All privileges” and click next.
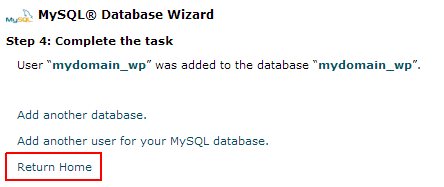
Now we have created database, created new database user, and added that user to database. Now we click on “return home”.
Step 4: Completing installation wizard.
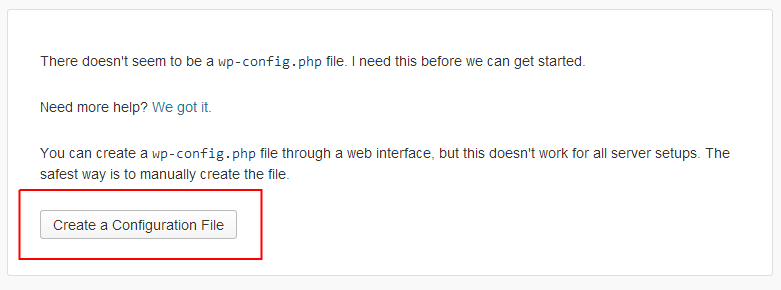
-Now in your browser enter domain of your WordPress site. That will open WordPress installation wizard.
Now we need to create wp-config file. So you need to click on “Create configuration file”.
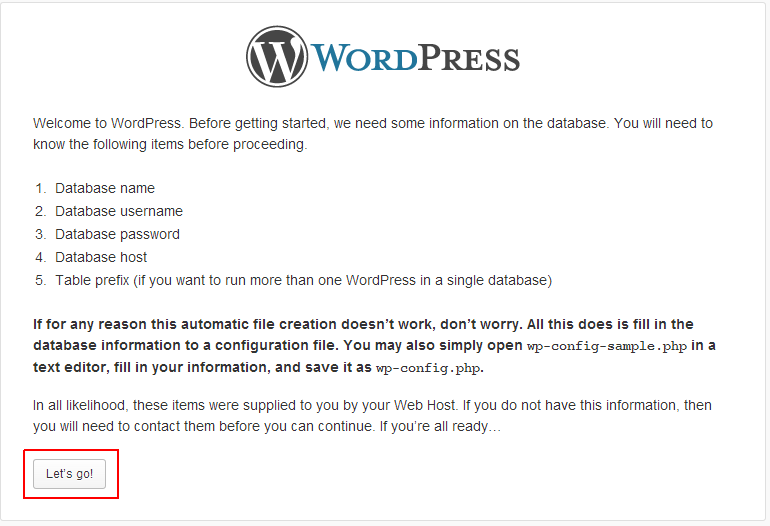
Now following page will open. And you need to click on “Lets go”
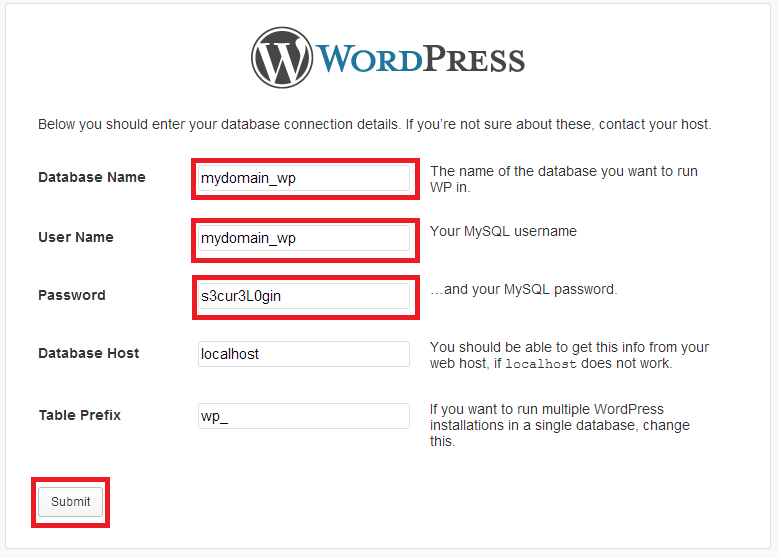
In this step you need to enter name of database,name of database user and password for our database user. After you have entered all required information just click “Submit”.
A page that requires you to confirm that you wish to install WordPress script will appear. You just need to click on “Run the Install”. 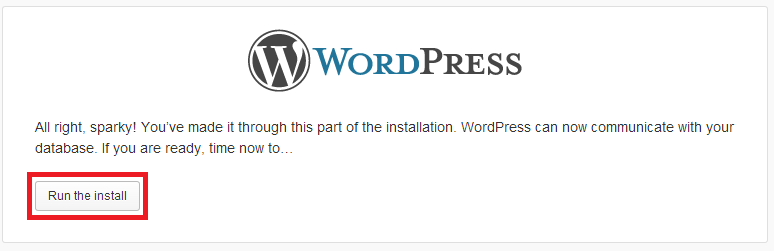
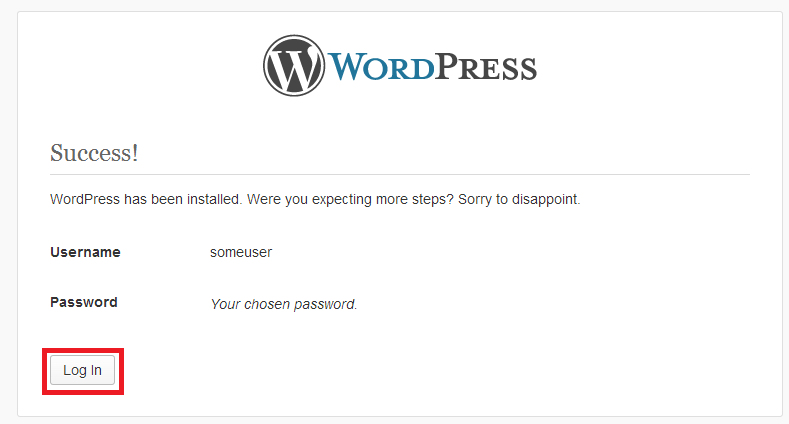
This is a final step of WordPress installation. In this page you are required to enter site name, username, username password and your e-mail address. After you finished with filling out required details you just need to click on “Install WordPress” and the rest of installation process will complete automatically.
That’s it! You have successfully installed WordPress script on your website. Now you can login into your WordPress account.
By default admin login URL for WordPress site is: http://yourdomain.com/wp-admin/

============================================================================