Announcements
Welcome to Servikus Tutorials Area! You will find a ton of useful tutorials in our tutorial area. We hope that you will find them useful! If you want custom tutorial created, please let us know and we will create it for you!
-
Advanced tutorials
Tutorials aimed for advanced users and, mostly, Dedicated Servers owners.
-
Basic tutorials
-
cPanel
cPanel related tutorials
-
Domain tutorials
-
WordPress
WordPress related (installation, plugins, tips etc)
How to organize WordPress posts with categories
Posted on 08/09/2014 by Bojan Njamcić
WordPress did a really great job with post organization and hierarchy. Getting everything nice and organized with your WordPress website is an easy task. This tutorial will teach you how to add and organize new categories easily.
Note: We assume you’re already logged in your WordPress admin panel.
Step 1: To add new category in WordPress you need to navigate to “Posts -> Categories” page in your WordPress admin panel.

Step 2: You will see a window with two segments. On the left side you will see an area which basically allows you to add new category , and on the right side you will see a list of categories already in use.
Here you will need to fill in a couple of details regarding category you’re adding.
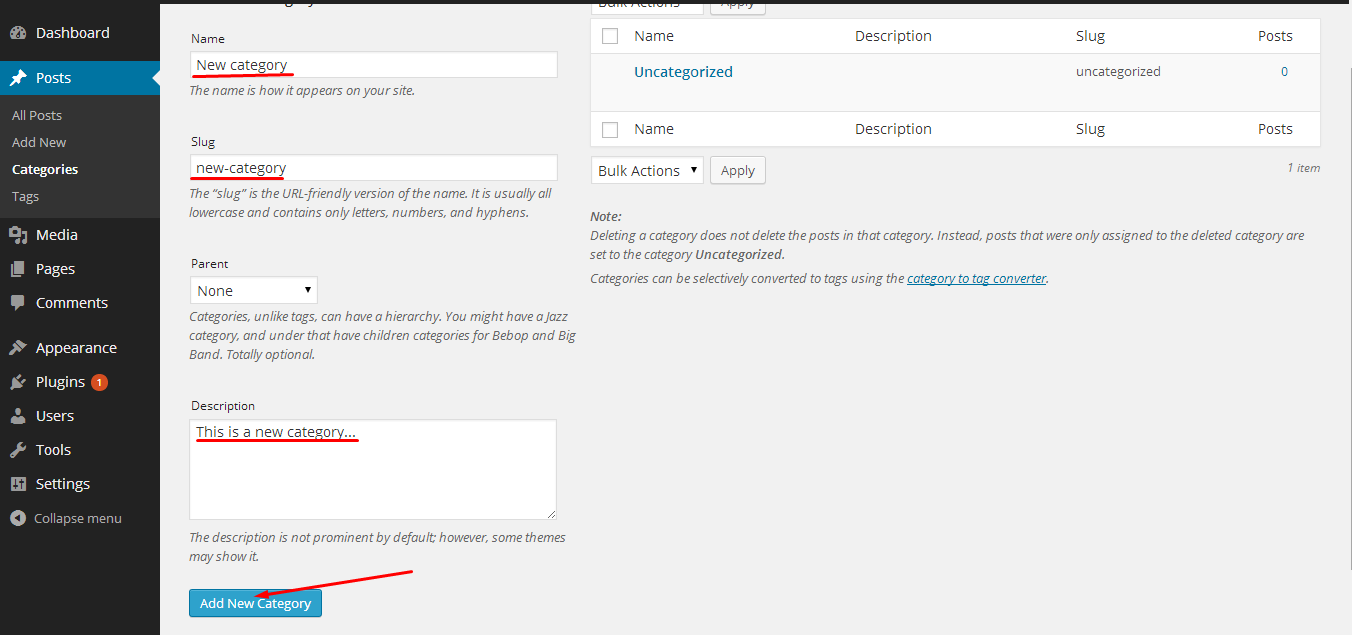
“Name” would be the name of category you’re adding (new category will appear on your website by this name)
“Slug” is an URL friendly name of your category. Slug will be used in URLs of categories.
“Parent” is used for organizing categories. If, for example, you wish to have “Computer” category and you want “Processor” category to be a sub-category (child) of “Computer” you would choose “Computer” to be a parent of “Processor” category.
“Description” is a description of category. In most cases it will not appear on the website itself but it might when you use certain themes.
After filling in all the details just click on “Add New Category” button, as shown on picture below. For the purpose of this tutorial we are creating a category named “New category“.
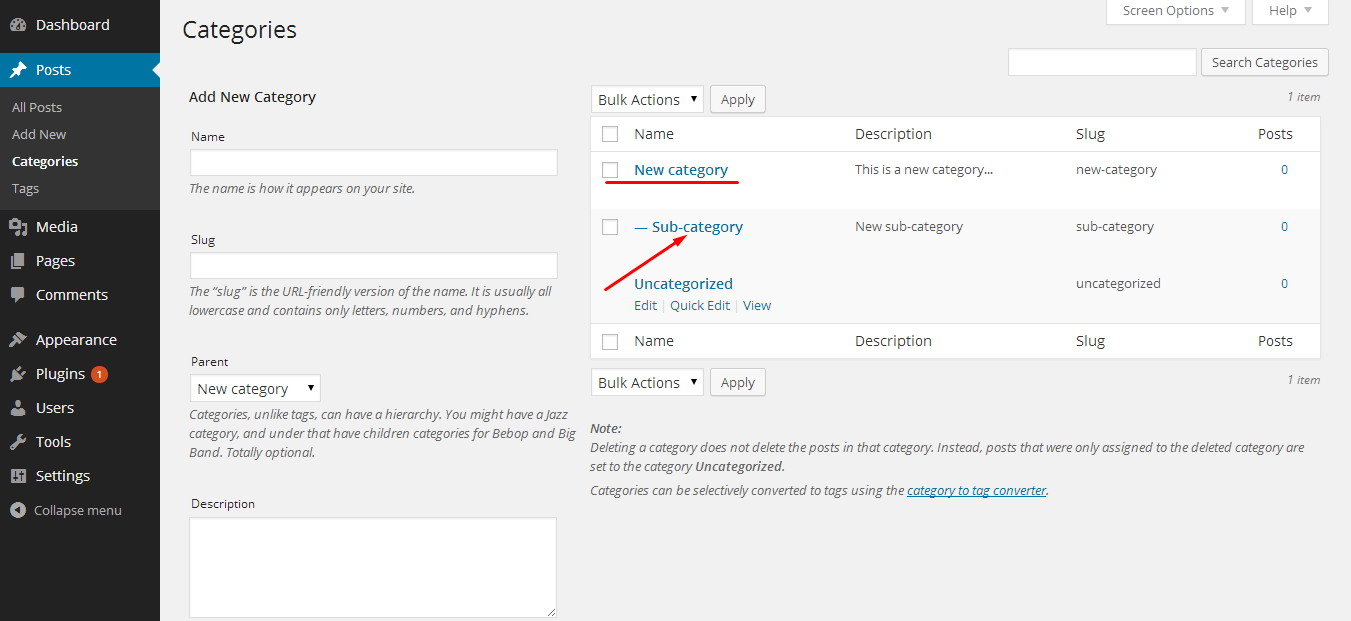
Step 3: If you followed all the previous steps you should now see your new category on the right side of “Posts -> Categories” page.

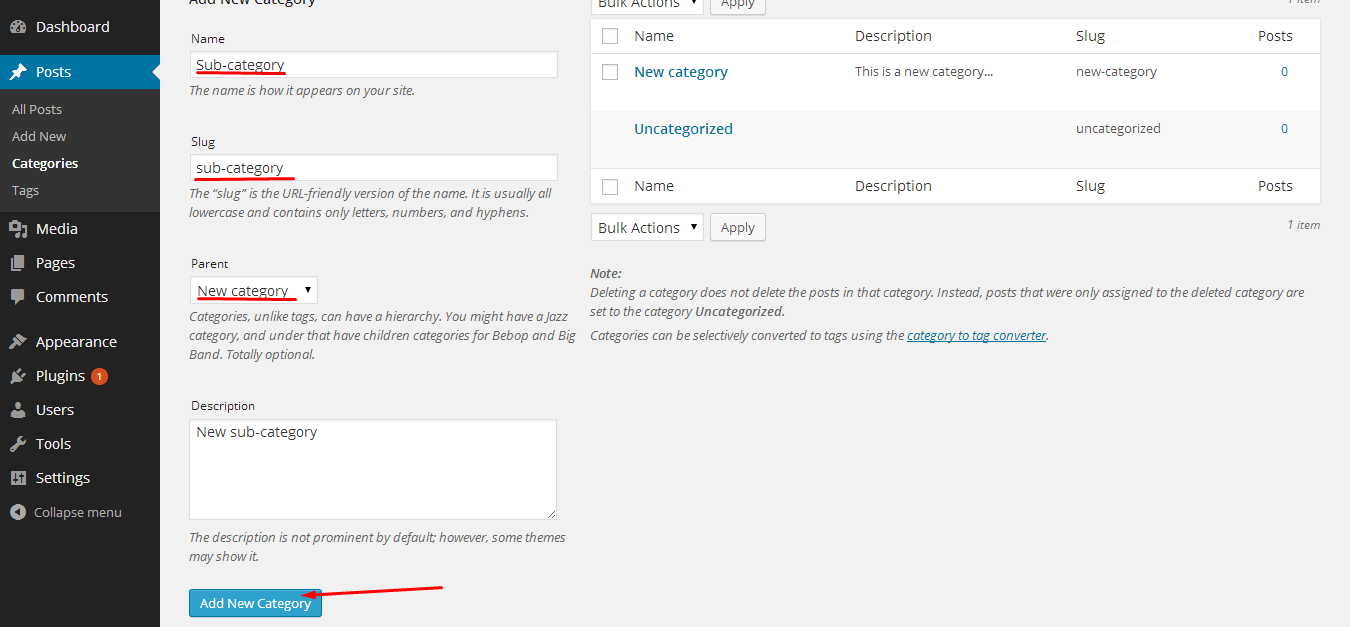
Step 4: Just as a showcase of WordPress category hierarchy we will now create another category named “Sub-category“, and our new category will have our previously created category “New category” as a parent (look at picture below)
That would be all. Now we have two nicely organized categories as you can see on image below.
In our next tutorial we will show you how to assign posts to categories.

============================================================================