Announcements
Welcome to Servikus Tutorials Area! You will find a ton of useful tutorials in our tutorial area. We hope that you will find them useful! If you want custom tutorial created, please let us know and we will create it for you!
-
Advanced tutorials
Tutorials aimed for advanced users and, mostly, Dedicated Servers owners.
-
Basic tutorials
-
cPanel
cPanel related tutorials
-
Domain tutorials
-
WordPress
WordPress related (installation, plugins, tips etc)
Working with File Manager in cPanel
Accessing File Manager in cPanel
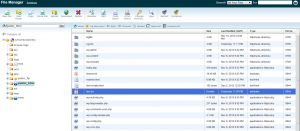
You can access file manager by clicking on “File Manager” icon, which is located inside “Files” box.
Or you can simply type “file manager” in “Find” field.
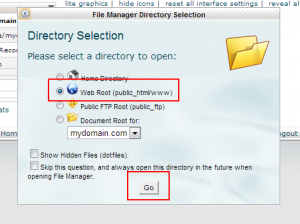
Then you will need to choose which directory you wish to open.
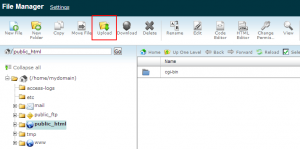
On our next picture you can see how File Manager appears.
Creating New File
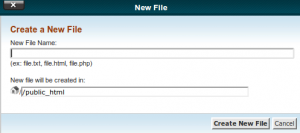
To create a new file from your File Manager you need to click on “New File” icon, which is located in top left corner of your File Manager.
Then you need to enter desired file, correct extension, and desired destination for your new file.
It’s very important for extension to be correct. For example, if you want to create text file then you would need .txt extension.
Click on “Create New File” button and your new file will appear in destination you specified.
Creating New Folder
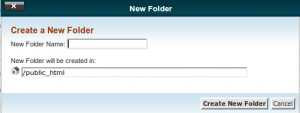
To create a new folder, you need to click on “New folder” icon, located in top left corner of your File Manager, right next to “New file” icon.
Now you need to enter folder name and destination of your new folder.
Click on “Create New Folder” button and your new folder will appear in previously specified destination.
Editing File
In order to edit a file from your File Manager you need to navigate to a directory where desired file is located.
When you’re in a desired directory, just click on a file that you want to edit and after that click on “edit” icon.
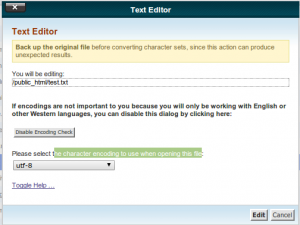
Then new window will appear which warns you that you should make a backup of that file before proceeding. We suggest doing this, it is a good security precaution.
Also you can see directory path and name of file that you selected. Besides that you can also choose which character encoding you want to use when opening selected file. And you can disable encoding check. Click “edit” button.
Then new window will appear displaying content of selected file. Now you can make desired changes to your file.
When you finished editing click on “Save changes” button, located in the top right corner.
Now you can simply close editor. After that your file is saved with the changes you made.
Uploading Files
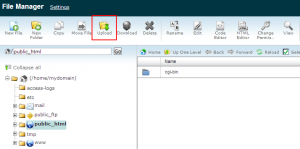
To upload files from File Manager you need to click on “Upload” icon. It will open a new page.
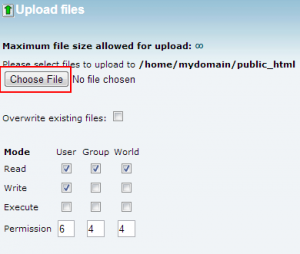
Here you need to click on “Choose file” option. After you selected file, upload will automatically start.
When upload is finished go back to “File Manager” page, and you will find file that you have uploaded file in a directory that you are in.
Example: If you are inside public_html directory and you upload certain file, your file will be uploaded to public_html.





============================================================================