Announcements
Welcome to Servikus Tutorials Area! You will find a ton of useful tutorials in our tutorial area. We hope that you will find them useful! If you want custom tutorial created, please let us know and we will create it for you!
-
Advanced tutorials
Tutorials aimed for advanced users and, mostly, Dedicated Servers owners.
-
Basic tutorials
-
cPanel
cPanel related tutorials
-
Domain tutorials
-
WordPress
WordPress related (installation, plugins, tips etc)
How to install and set up WP Super Cache for WordPress
Posted on 10/07/2014 by Bojan Njamcić
WP Super Cache is one of the best WordPress plugins for improving overall speed of your WordPress website.
Basically, what WP Super Cache does is generating static HTML files from your WordPress website. After HTML file is generated and saved, a server on which your website is hosted will serve that file to users. By doing that WP Super Cache dramatically improves speed of your website.
Installation process for WP Super Cache is pretty straight-forward and simple.
Like with any other popular WordPress plugin, you can find and install it from “add new plugin” menu in your wp-admin area.
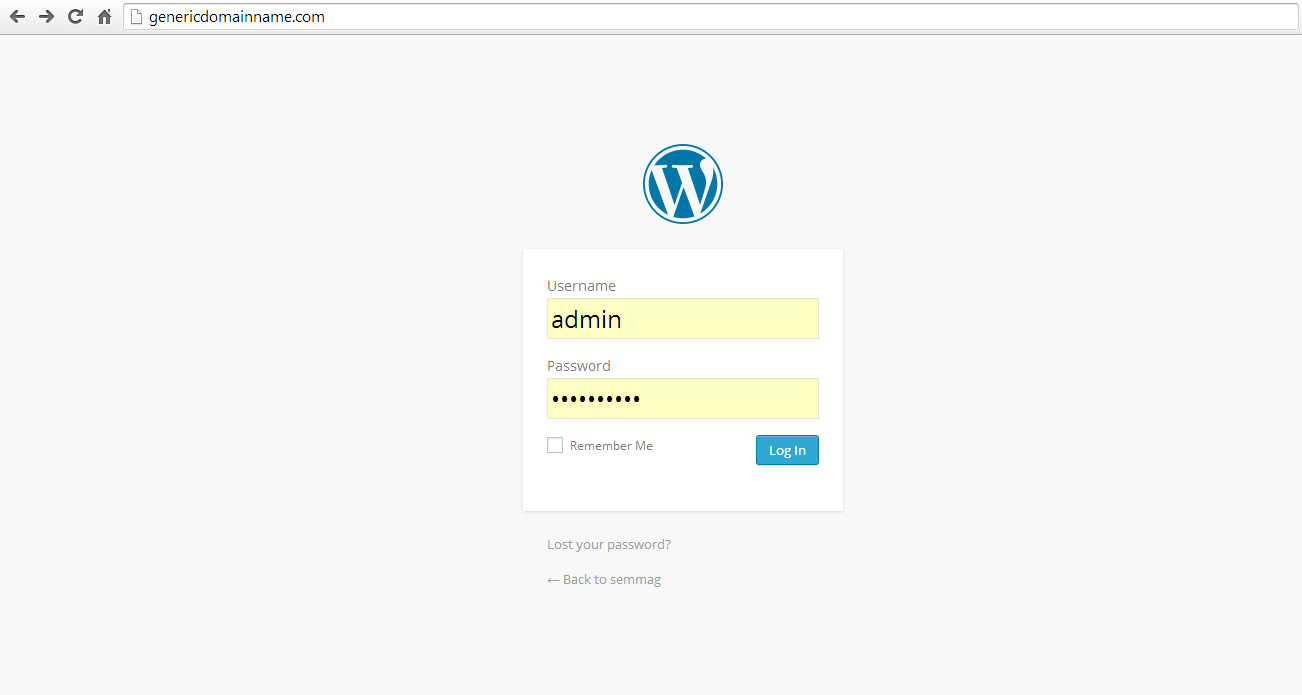
Step 1: Log into your wp-admin area
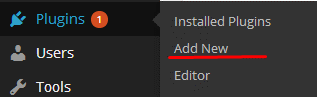
Step 2: Go to Plugins –> Add New
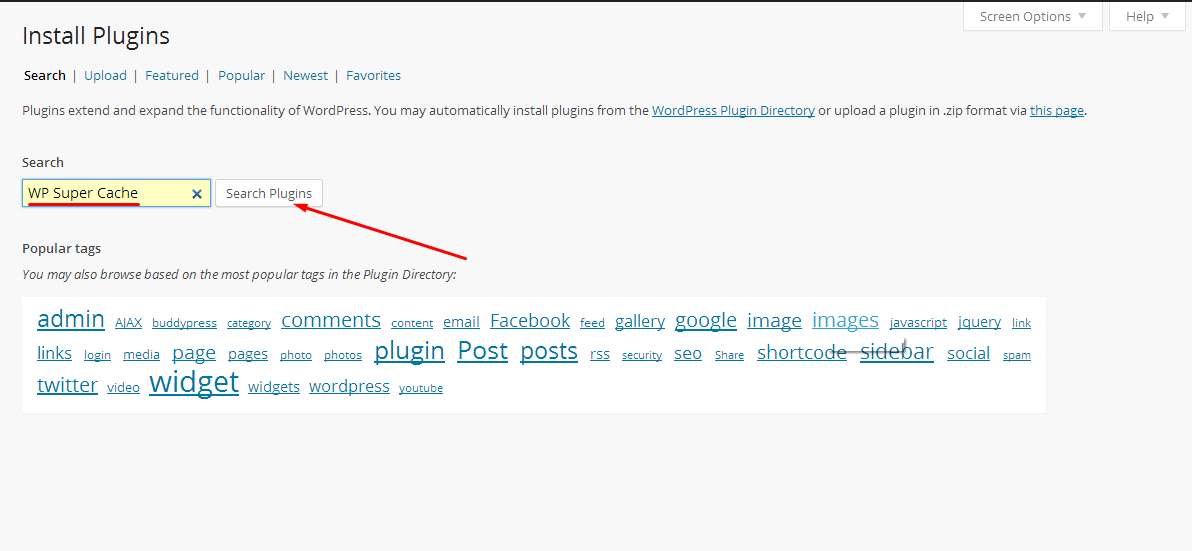
Step 3: Type : “WP Super Cache” in the search box
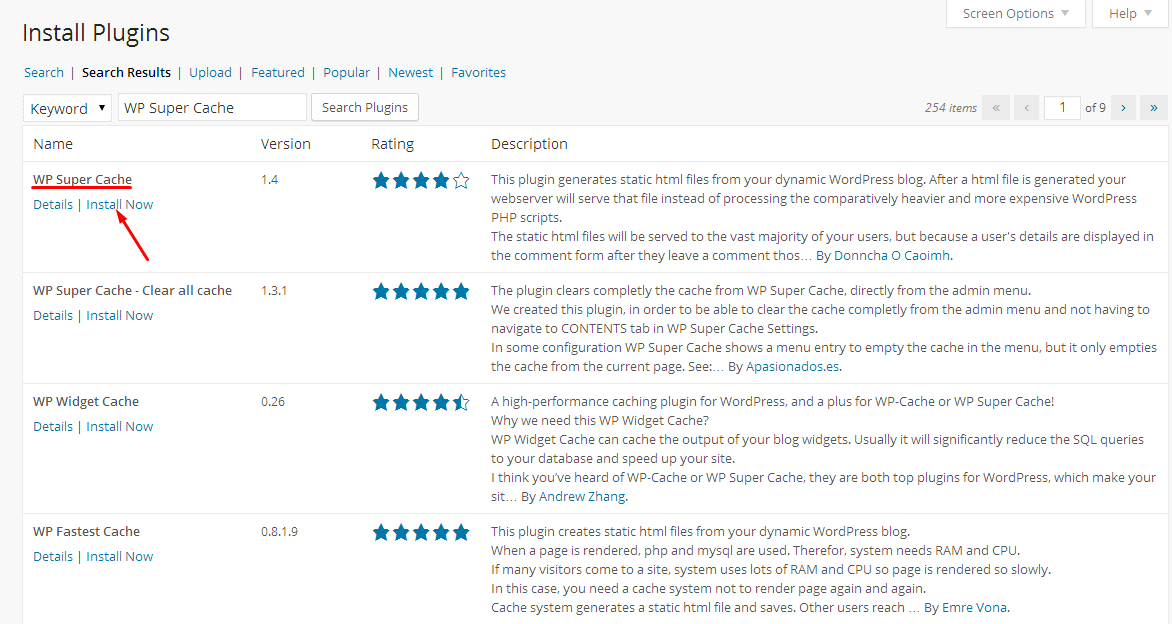
Step 4: Locate “WP Super Cache” plugin and click on “Install now”
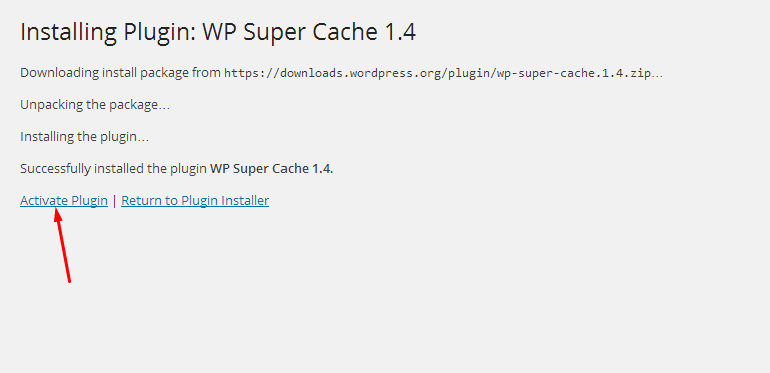
Step 5: After installation is completed click on “Activate Plugin”
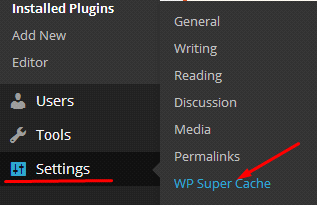
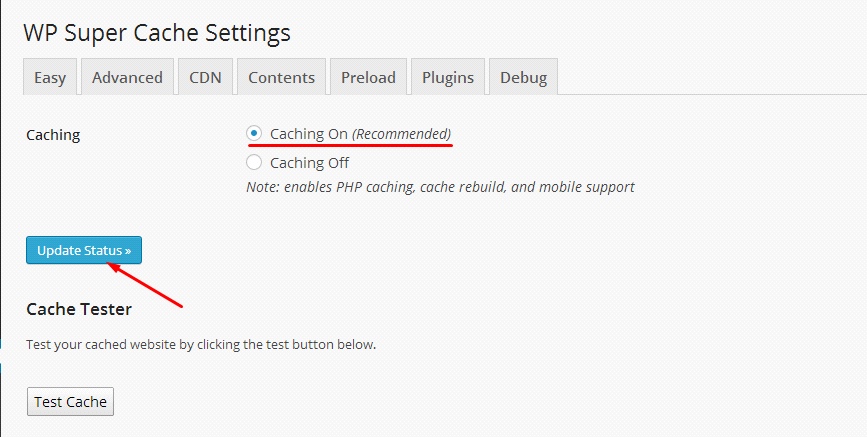
Step 6: Then go to: Settings –> WP Super Cache. Thick option: “Caching On” and after that click on: “Update status“.
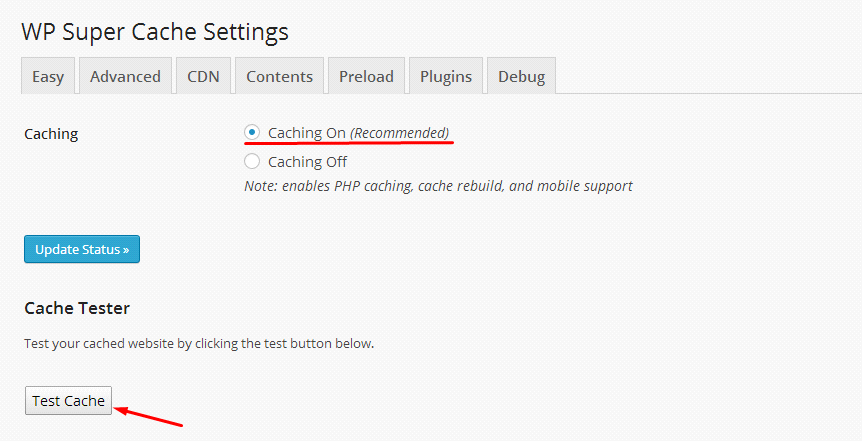
Step 7: Last thing you want to do is test if everything is set up and working properly. To do that just click on “Test Cache” button. If green text saying: “The timestamps on both pages match!” appears then everything is fine and you are good to go.


============================================================================